Remove Oxidation, Scratches & Protect - Easy 1 Step
How to Remove Light Oxidation & Scuff Marks from Your Boat Topside with Revival Polish & Protect
If you're a boat owner or professional detailer, you've likely run into this common problem:
“The boat still shines a little, but the gelcoat feels dry, dull, and scuffed — what now?”
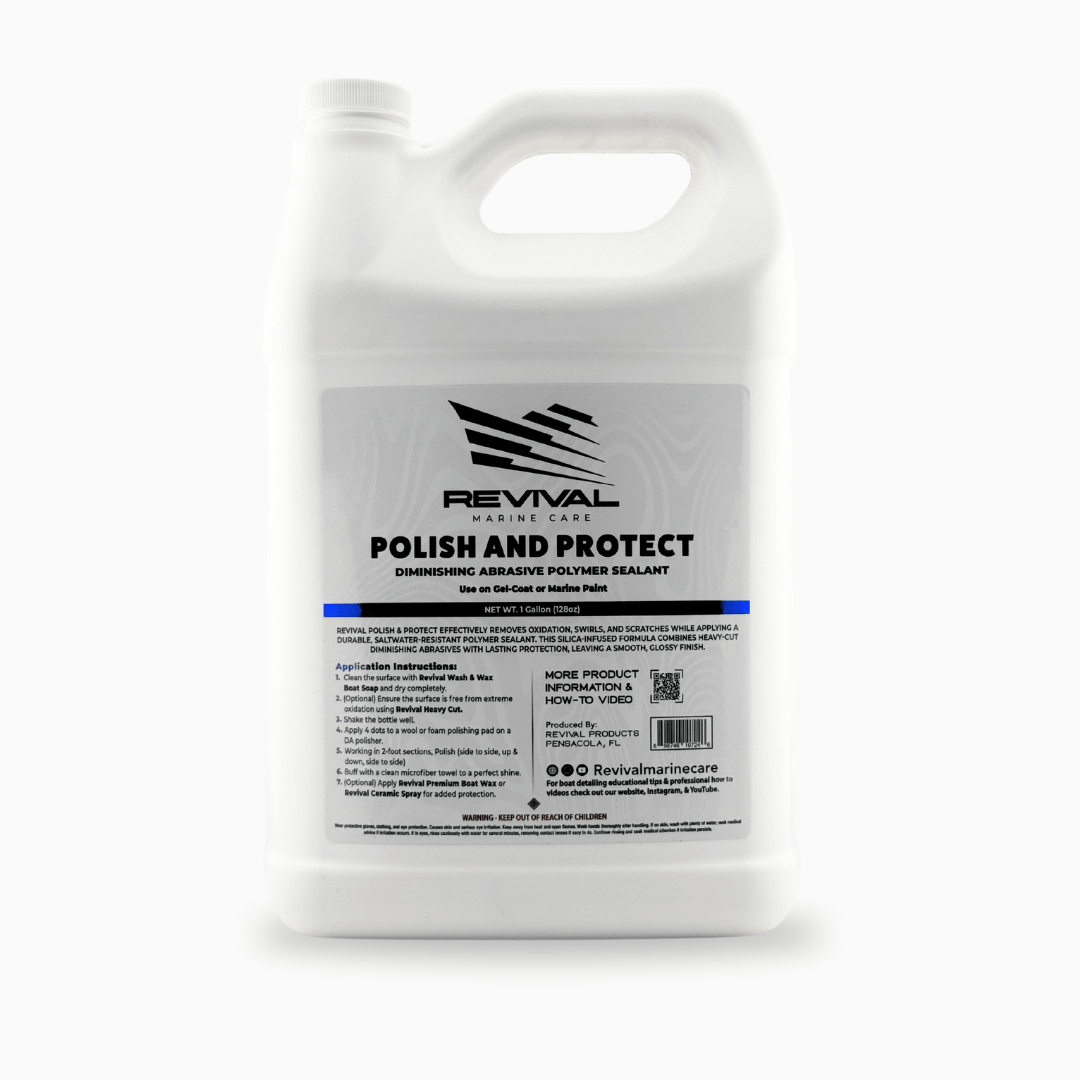
This is the perfect time to reach for Revival Polish & Protect — our all-in-one polishing and protective solution. In this blog post, we’ll walk you through exactly when and how to use it, what tools we recommend, and why it’s a game-changer for maintaining your boat's finish.
.
⚓ When Should You Use Revival Polish & Protect?
Revival Polish & Protect is ideal when:
- Your boat has light oxidation but doesn’t require aggressive compounding.
- You notice scuff marks, dryness, or minor swirl marks on the topside gelcoat.
- You’re doing a wash & wax package, but want better results than wax alone can deliver.
- You or your client is on a tight budget, and you need an effective one-step solution for shine + protection.
.
🧽 Why Not Just Use Wax?
While wax protects, it has zero abrasives. That means it won’t fix any of the surface issues like dullness, scuffs, or light oxidation. You might mask imperfections temporarily — but they’ll come right back.
Polish & Protect solves that by:
- Lightly correcting the surface
- Removing oxidation and scuffing
- Leaving behind a beautiful, slick finish with built-in protection
It’s like giving your gelcoat a facial and sunscreen in one step.
.
🛠️ What Tools You’ll Need
Here’s our recommended setup from the video:
- Polisher: Maxshine M21 Pro Dual Action Polisher
- Pad: Lake Country Blue HDO Foam Pad
- Product: Revival Polish & Protect (available in 16oz or gallon sizes)
- Correction Light: Any portable detailing light to inspect your work
- Clean Microfiber Towel
This combo gives you enough correction to revive the surface without the risk of damage — perfect for topside applications.
.
🔄 Step-by-Step Application Process
- Prep the Surface
Wash and dry your boat thoroughly. Remove any loose contaminants or heavy debris. - Apply the Product
Dab small amounts of Revival Polish & Protect around your working section. - Spread with Polisher
Set your DA polisher to speed 4–5. Work in a cross-hatch pattern (side to side, up and down, side to side ) totaling in 3 passes to ensure even coverage and correction. - Inspect the Results
Use a correction light and microfiber towel to wipe off and examine your finish. You’ll instantly notice a smoother, deeper shine and the disappearance of light scuffs and oxidation. - Top It Off (Optional, but Recommended)
For long-lasting protection and insane gloss, follow up with Revival Ceramic Spray or Revival Premium Boat Wax
.
💡 Pro Tip for Mobile Detailers
If you're offering a wash & wax service, upgrade your results without upgrading your price by using Polish & Protect in place of standard wax. You'll:
- Deliver better results
- Save time from hand-polishing or re-waxing
- Impress your clients with a longer-lasting shine
.
🎥 Watch the Full Tutorial
Want to see this process in action? Check out our video up top for a full topside polish demo using Revival Polish & Protect on a 25-foot boat.
.
Final Thoughts
Light oxidation and surface scuffs are inevitable in marine environments, but with the right tools and a smart product like Revival Polish & Protect, you can restore shine, improve protection, and reduce maintenance time dramatically.
Whether you’re a boat owner or a seasoned detailer, this is one of those products that saves the day when nothing else quite fits.
Ready to bring your boat’s finish back to life?
Try Revival Polish & Protect on your next detail — and see the difference for yourself.

Revival Marine Care
Polish & Protect | Remove Oxidation, Enhance Gloss & Protect. One Step Formula.